WEEK 5 - 17th March 2020
ENTRY 5: WEEK 5 - 17th March 2020
Model Making Activities: Studio Activities
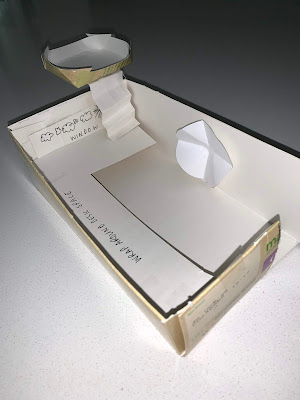
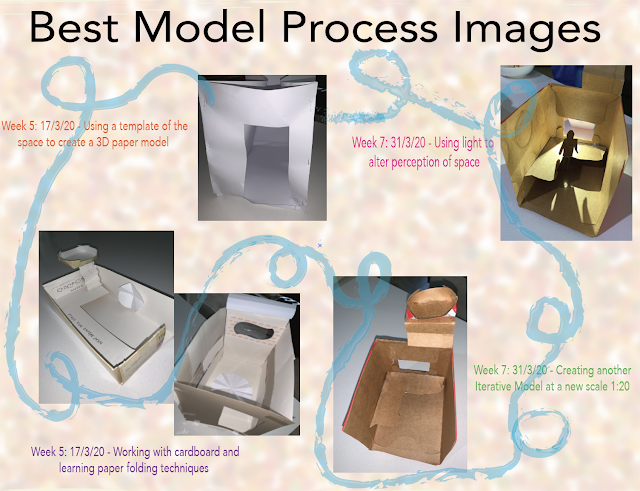
1) Measure the space’s heights and widths and identify the floor ceilings, walls, doors, and windows. Make a template on flat paper, leaving a tab on the edges and then fold them together to make an enclosed form.


In the above images, I realised I had not created the model at the right scale. Therefore, the images below are the model created at the correct scale (1:10) using paper.
2) Once you have made this in paper material, make the shape in cardboard
Compare what it is like to work with the two different materials. Which is easier to work with:
Both materials present different capabilities. Paper is easier to communicate direct measurements, although the cardboard is better in expressing 3D elements and aspects. Personally, the cardboard is an easier material to work with because I'm able to grasp the dimension and area of the space I'm designing better. Being able to see something visually and in real form, communicates a clearer message in my perspective.
3) Creating a better version of my room
My final room design incorporates a fort, above the window which adds another layer to the initial design of the room. Additionally, the V pleated circle in the center of the room is a vault - when turned the vault sinks to the ground and underneath lies another room space. Obviously, these ideas are quite farfetched although if money did not matter I would want the space to feel unorthodox in the way it is set and the dimensions it encompasses.
Inspired by a transition space (hallway, lobby, stairwell, etc) in your house, apartment or building create your own version of Russell's demonstration model using 3 rectangular prisms. When laid out flat the components should all fit within a 400x120mm rectangle; this will determine the overall size of each element.
I started off by drawing a sketch of the transition space I was going to model. The space I modeled was my hallway area which attaches directly to the original study room I modeled above.
I then proceeded to create the sketch in Fusion 360 following the steps of Russell's tutorial. Below is an example of one of the faces I had to create (floor).
Measuring and scaling were involved as part of the design process. Intricate measurements were necessary, ensuring that the components of the final product would fit on the Illustrator template for the process of laser cutting.
Fusion 360 served some hurdles in terms of operating the system and reaching the ideal design I was trying to communicate although, through troubleshooting measures, the task was executed.
The image below is the flat components of the Fusion 360 model separated on the UNSW Template ready to be exported into Illustrator.
Below is the Illustrator file, I had to download the template and make sure that the layers and corresponding colors all aligned in the right layer to ensure that during the laser cutting process everything would be cut accordingly and precisely.
See submission 3 for AI format:


Comments
Post a Comment