WEEK 7 - 31st March 2020
ENTRY 6: WEEK 7 - 31st March 2020
Studio Activities:
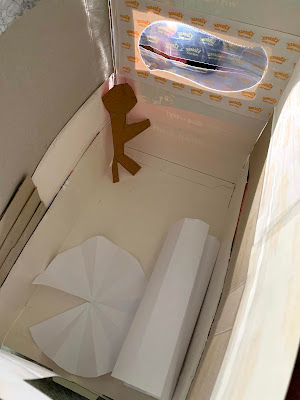
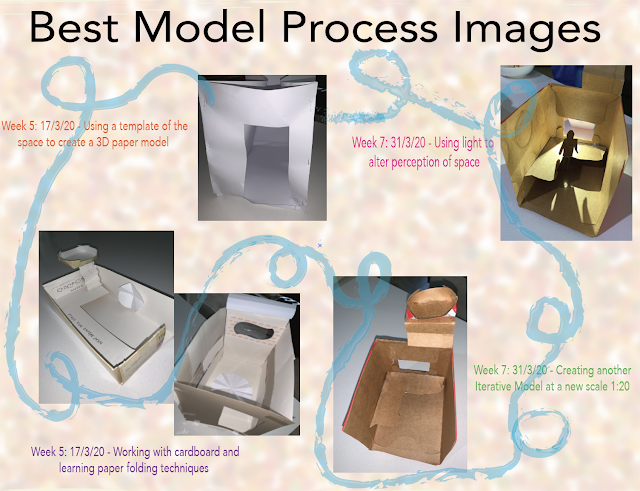
Model 1: Iterative Model with an additional source of natural light at a new scale
I chose a new scale working at (1:20), the reason being it was more conventional to design at. I chose to use only cardboard for this model, as paper is not as sturdy. Personally, I find it better to work with cardboard as it is more durable and conveys dimension and aspect better than paper.
The body (walls) were simple to cut as they were all rectangular shapes. Additionally, I added the wrap-around desk bench.
The V pleat technique was used to create the stairs to the fort above the window. Then the object at the top of the stairs is a seat. The seat was made first by cutting a rectangular shape, then cutting in the edges and joining to create an elevated oval seat.
The window was left open, as it is the only source of light that enters the space.
These images below are captured in normal room light (sunlight):
Model 2: Fusion 360 Model in Paper
Using the tongue and fold technique, I made an identical model of the three rectangular prism faces I initially created in Fusion 360.
This transitional space coveys the doorway out of my study and into the main hallway area.
Online Tutorial Week 7: Fusion 360 3D Shapes
For this task, you'll take the initials of your name and create a small curvilinear object using the loft and shell features in Fusion 360.
This task was interesting as it allowed me to gain a deeper understanding of curvilinear objects and their effect within the design process. The abstract element of this shape is intriguing to view from different angles.
Model 1: Iterative Model with an additional source of natural light at a new scale
I chose a new scale working at (1:20), the reason being it was more conventional to design at. I chose to use only cardboard for this model, as paper is not as sturdy. Personally, I find it better to work with cardboard as it is more durable and conveys dimension and aspect better than paper.
The body (walls) were simple to cut as they were all rectangular shapes. Additionally, I added the wrap-around desk bench.
The V pleat technique was used to create the stairs to the fort above the window. Then the object at the top of the stairs is a seat. The seat was made first by cutting a rectangular shape, then cutting in the edges and joining to create an elevated oval seat.
These images below are captured in normal room light (sunlight):
Include Human Figures to Indicate Scale as well as using light to shine through models:
By using light and human figures it added a real-life effect to the models. In terms of practicality, scale, shadows, and light cavities.
A set of human figures I drew and cut out:
For the models below I used a warm lamp. The yellow light was used to resemble a late afternoon sunset. I believe these images below are effective in communicating both scale and light, setting a scene for a viewer.
Below is another model with a phone torchlight added as the light source. I don't believe it conveyed scale and light like the first model did.
Model 2: Fusion 360 Model in Paper
Using the tongue and fold technique, I made an identical model of the three rectangular prism faces I initially created in Fusion 360.
This transitional space coveys the doorway out of my study and into the main hallway area.
Below is the 3D model. The first image is the birds-eye view. The walkway from the study starting from the left of the image (smaller rectangular prism) and the longer rectangular prism representing the hallway.
For this task, you'll take the initials of your name and create a small curvilinear object using the loft and shell features in Fusion 360.
This task was interesting as it allowed me to gain a deeper understanding of curvilinear objects and their effect within the design process. The abstract element of this shape is intriguing to view from different angles.
Kristen Mary Obeid (KMO)


Comments
Post a Comment